1.It is really a craft gadget.
2.Take a photo or draw a picture to
make your personal style badge
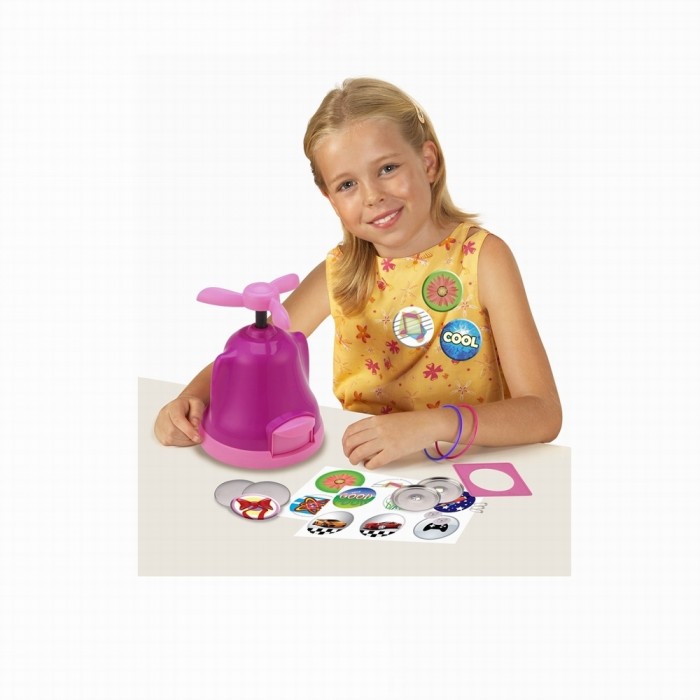
3. Impress everyone with your cute
badge.
4. Put your DIY badge on your
clothes, bag or any items.
5. No need battery
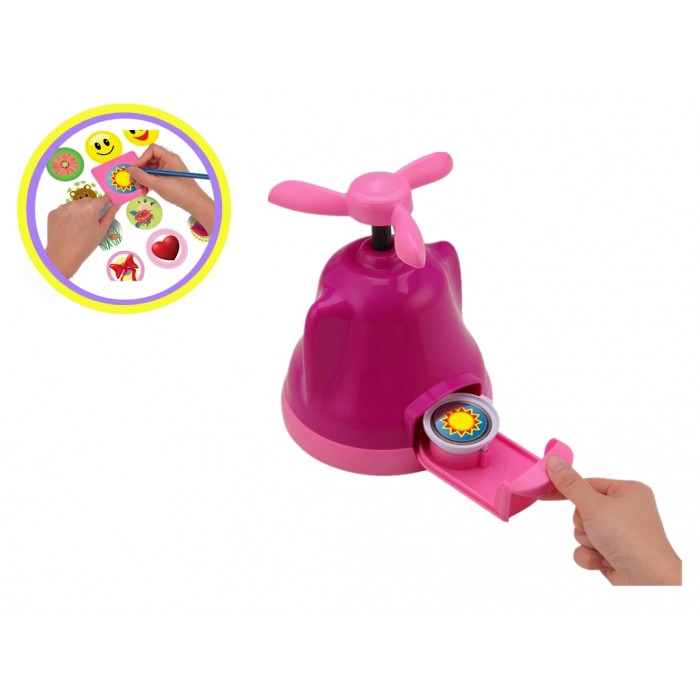
Step 1: Choose and cut your favourite pattern from our supplied designed
sheet, or you may cut out picture from magazines.
Step 2: Take “tray number 1” and put
one metal cover plate, then the picture and finally the film. Slide the
“tray number 1”
into the Badge Maker completely.
Then turn the axe of Badge machine downwards, until you hear two CLICK sound which means that the three pieces are
fixed together. Turn the axe upwards until the axe reaches its highest point, you can take out “tray
number 1”. The badge cover automatically stays inside the Badge maker.
Step 3: Take “tray number 2” and put the Metal back plate (with hole), with its rim upwards. Slide the “tray number 2” into the Badge Maker completely. Turn the axe downwards until you hear two CLICK sound, then turn the axe back to its highest position again and take out “tray number 2”, your badge is ready!
Step 4: Put the badge on the table, backside facing upward, then put the plastic pin holder into the back of the badge and click-in
with the safety pin. Now the badge is ready to be put on your clothes or other things firmly.
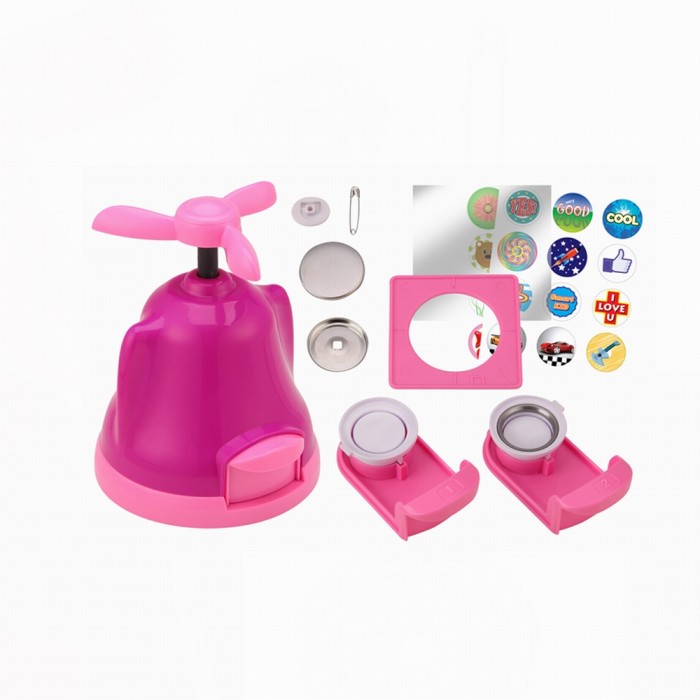
Product includes : 1 pc Badge Machine, 2 pcs Insert
tray, 1 pc Circle shaped Stencil, 24 pcs Metal Cover plate,
Tags: MAGIC BADGE MAKER